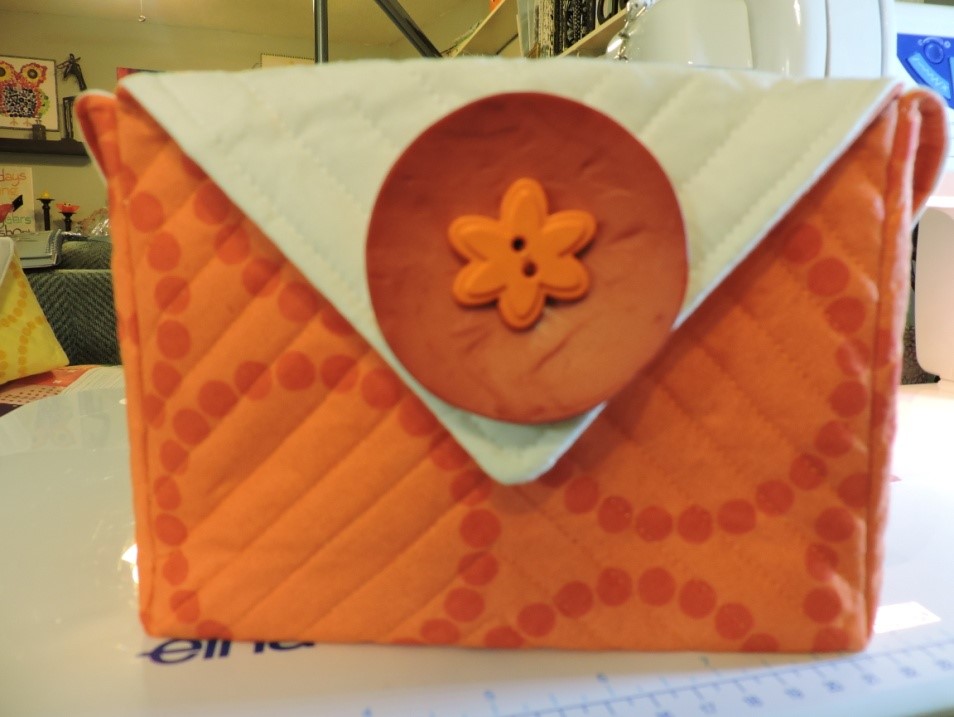
Today I am linking up with Andover Fabrics to do a tutorial for Fabric Boxes. This is my first link up and I am so excited! I made my first fabric box with my friend Becky in March. She used the tutorial by Seaside Stitches. They were little and they are perfect for thread catches and tool holders. When I got home I HAD to make more, I HAD to make them bigger, I HAD to make them in Rainbow colors ……and Lizzy House Tonal Pearl Bracelets and Textured Linen by Andover had just arrived on my door step…..match made in Heaven!
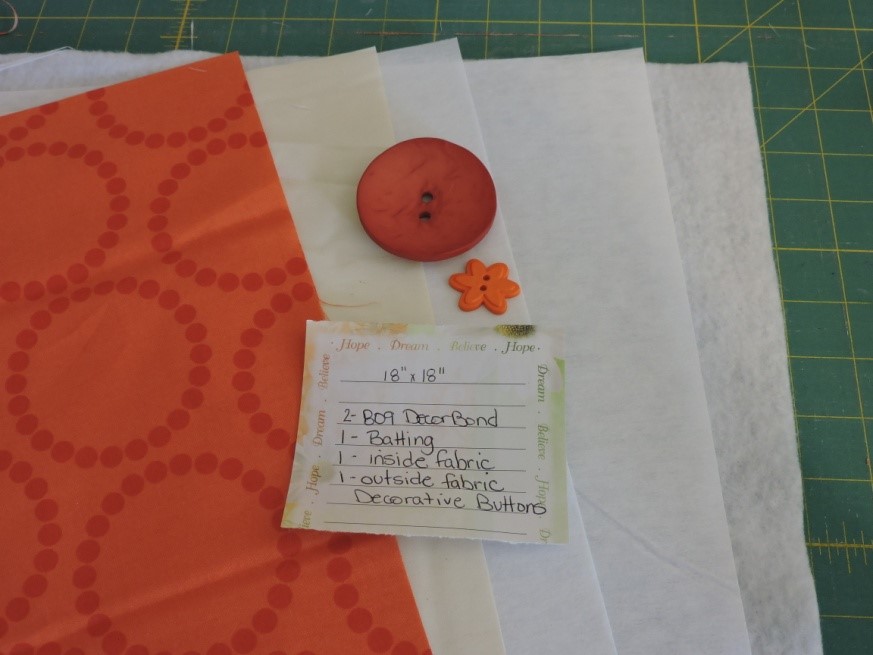
Here is what you need….
2 Fat Quarters
1/2 yard Decor Bond 809
18″ x 18″ Batting
Decorative Buttons
Cut
1 – 18” x 18” outside fabric
1 – 18” x 18” lining fabric
2 – 18” x 18” Decorbond
1 – 18” x 18” Batting
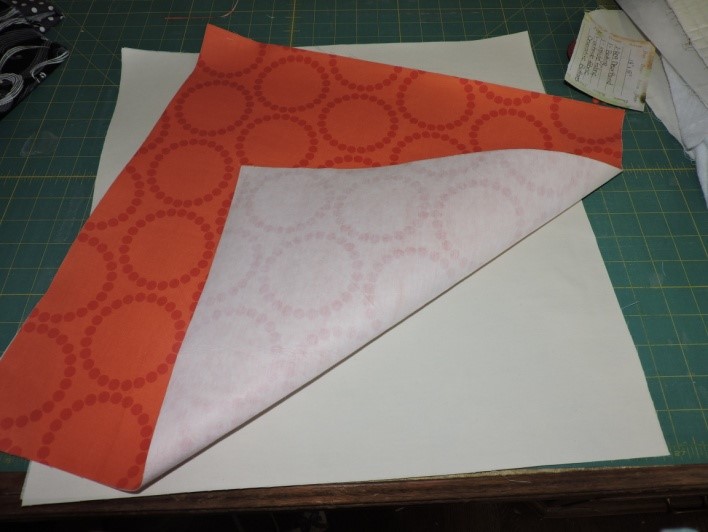
1. Iron the interfacing to the back of the outside fabric and the lining fabric.
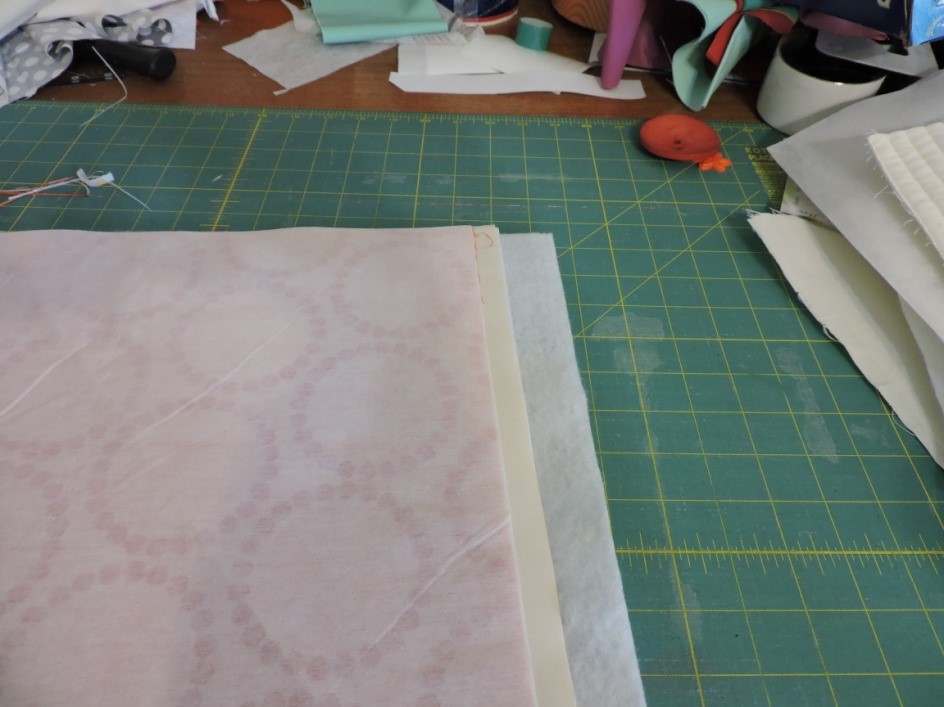
2. Make a quilt sandwich. Put right sides together of the outside fabric and the lining fabric and place on top to the batting.
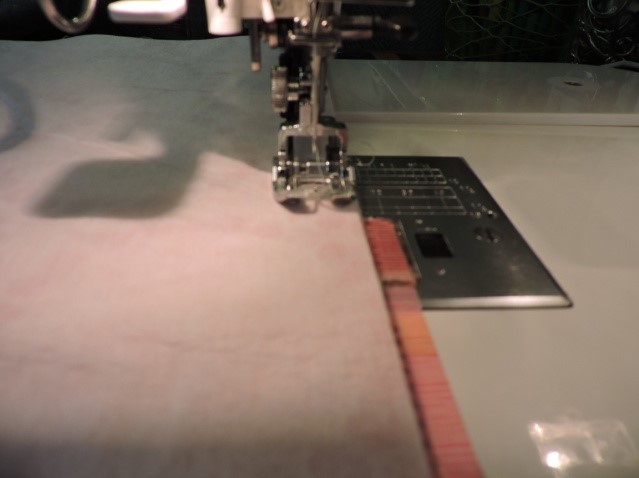
3. Using your walking foot, sew around all sides. Leave an opening along one side big enough to fit your hand in. Seam allowance doesn’t really matter; just use the edge of your foot.
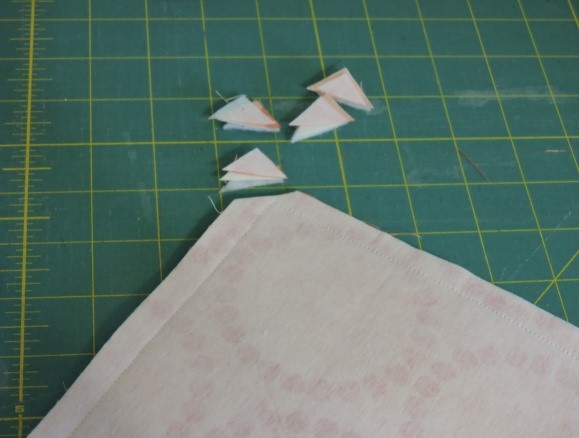
4. Clip the corners at a 45 degree angle.
5. Turn right side out and press flat.
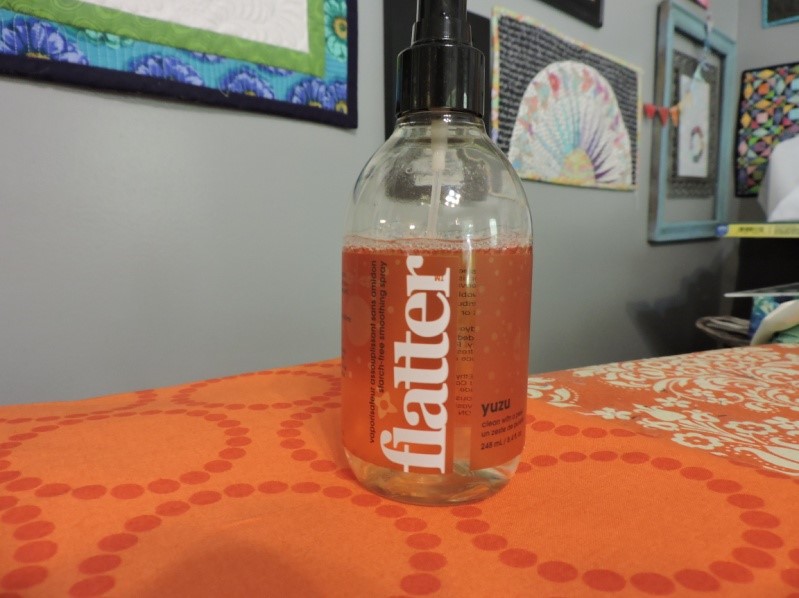
Have you tried Flatter by Soak? It is a starch alternative. It doesn’t leave flakes like regular starch and it smells AMAZING! I used it at Stash Bash for the first time and I am addicted now!
6. Topstitch 1/4 inch around the edges and then quilt as desired. I went in concentric squares till I reached the center using the edge of my walking foot for a guide
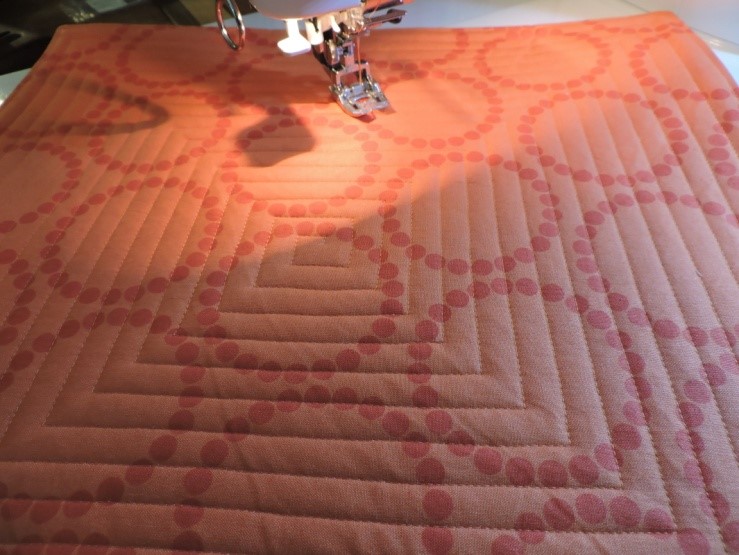
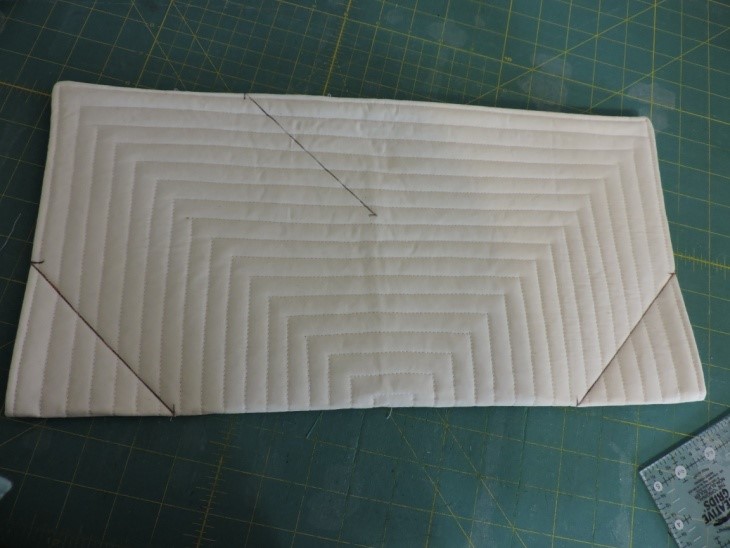
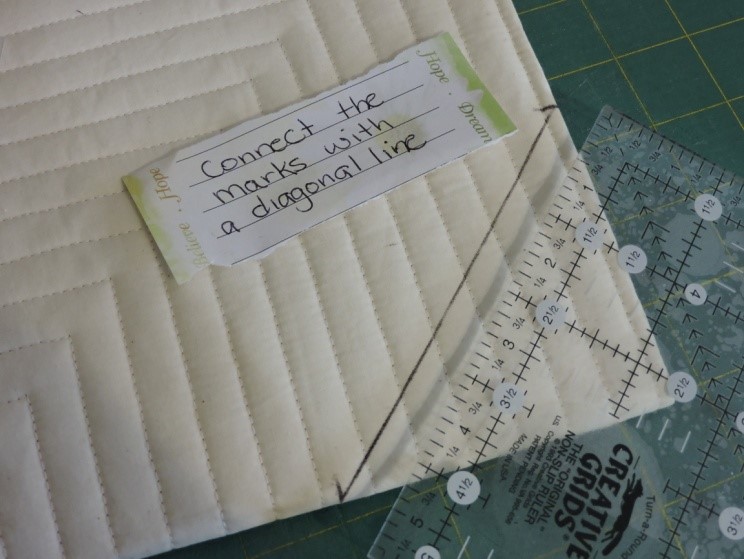
7. Fold quilted piece in half and measure from the fold….up 3 1/2 inches and over 3 1/2 inches and make a mark. Connect the 2 marks with a diagonal line. Repeat for the other corner
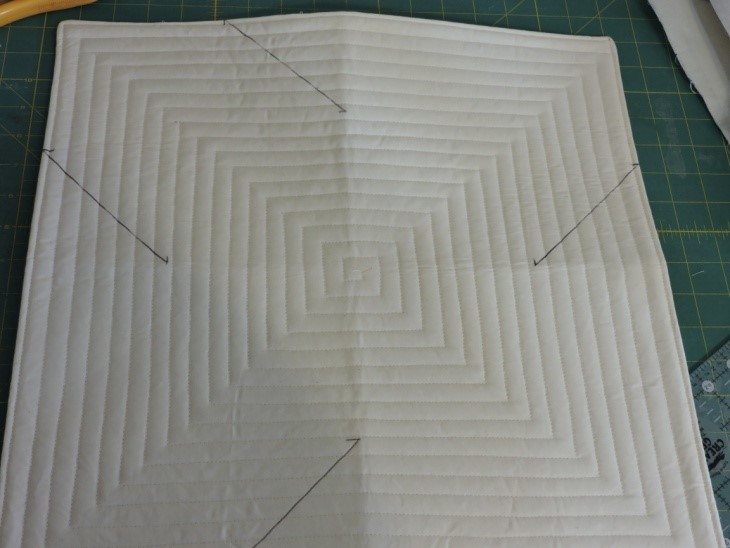
8. Fold in half the other direction and mark it on both corners. It will look like the above when you are done.
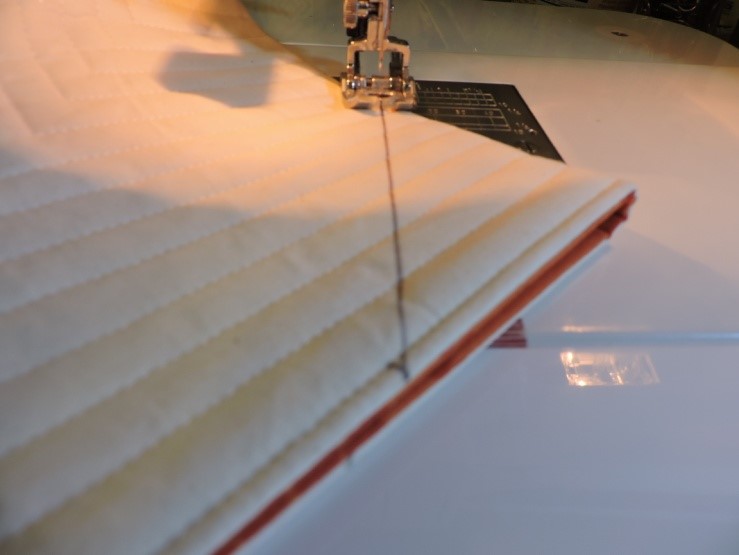
9. Fold in half and sew ON the lines marked.
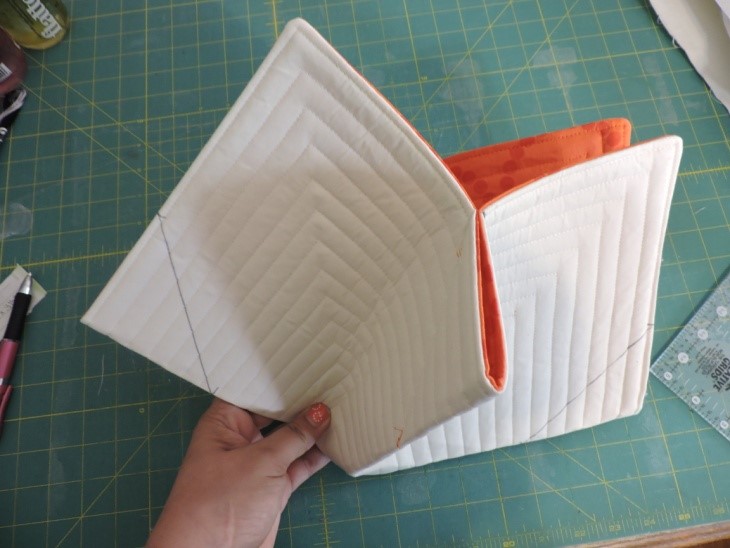
10. Fold in half the other way and sew on the lines
(My manicure was done using Lizzy House Pearl Bracelet Nail Polish Set by Soak)
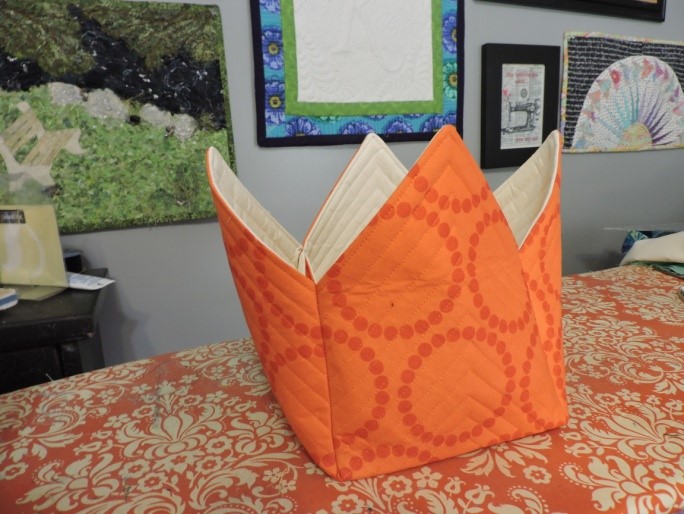
11. Turn right side out. I iron along the bottom to “sharpen” the fold. Fold the top edges down and press.
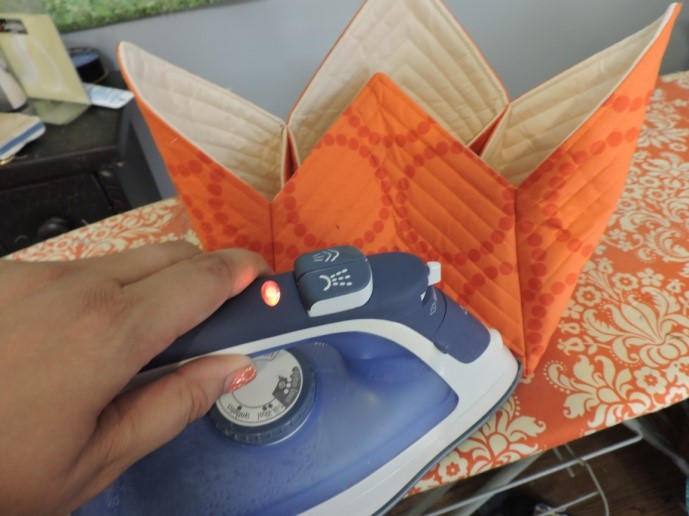
12. Stitch all 4 top corners down, stitch the inside folds in place.
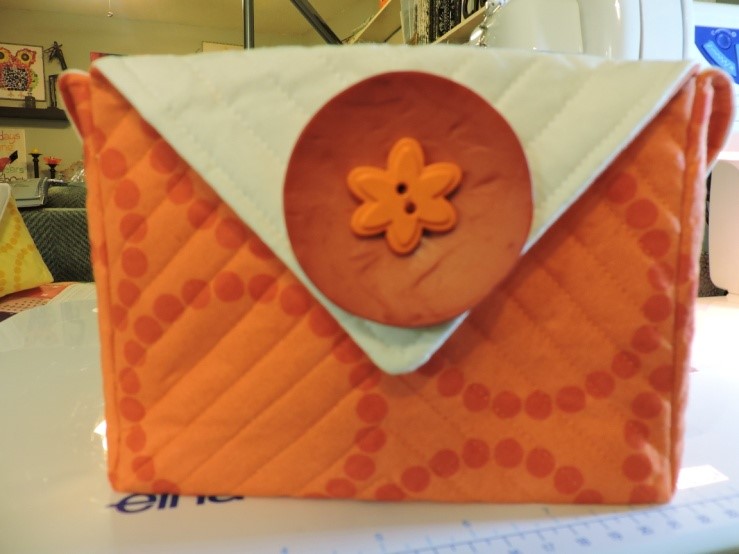
13. Embellish with buttons. I only add buttons to one side because all of my boxes sit next to each other, but you can add them to all 4 sides.
Tada! You are done! I keep fabric scraps sorted in mine….what will you do with yours????
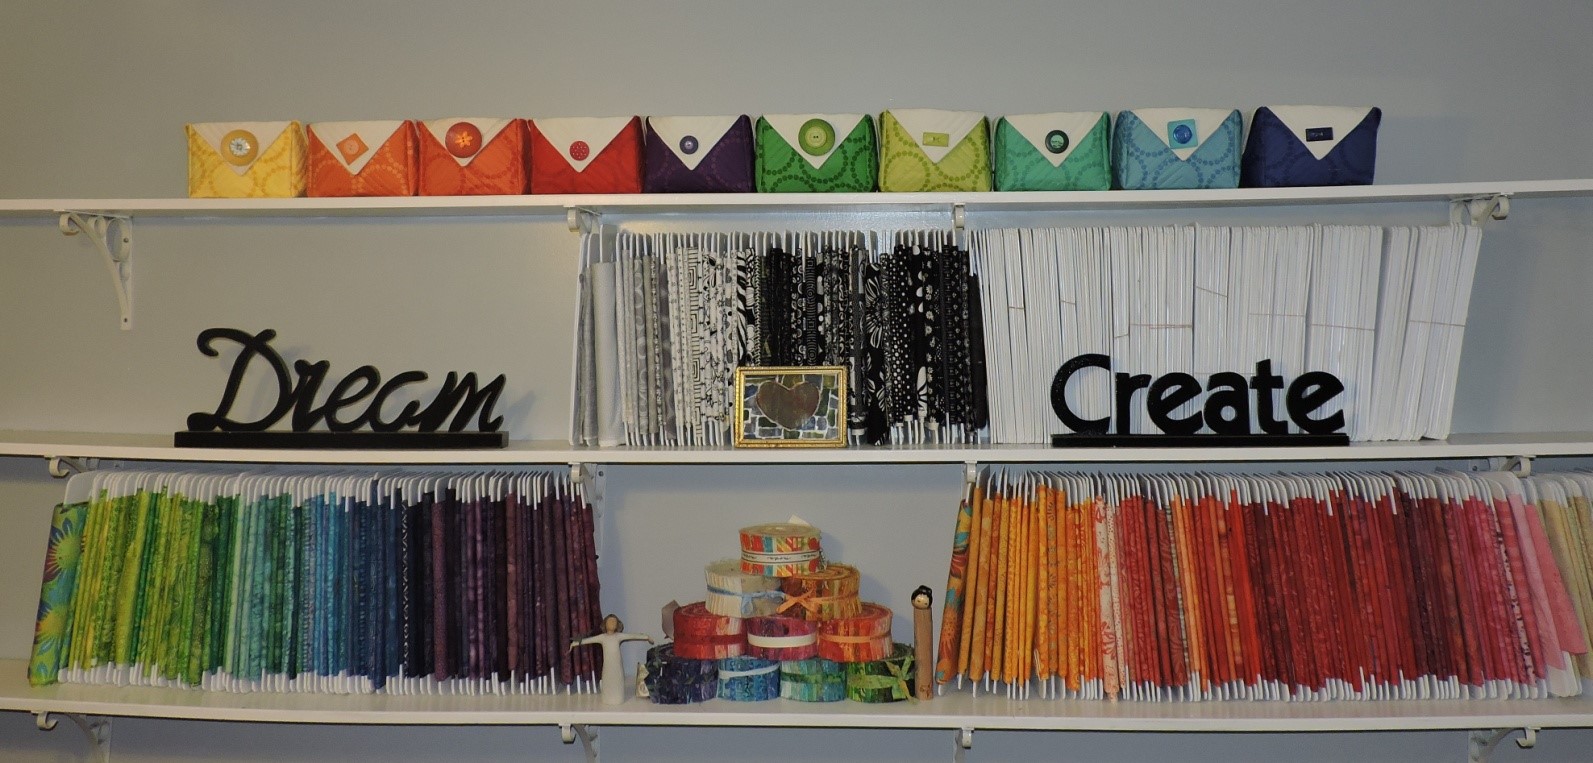

That’s a really clever way of stashing scraps! I love the variety of buttons too. 🙂
Love your fabric boxes!!!!
Thanks for sharing how you made them larger … I always have problems figuring out how I can successfully enlarge ‘patterns’.
What size did the box end up as?
I love the stylish fold over – and your rainbow of boxes. Lovely idea, thanks!
I love the stylish foldover with the buttons – and your rainbow of boxes too. Lovely idea, thanks!
Thank you for a great tutorial. I just love your row of rainbow boxes!